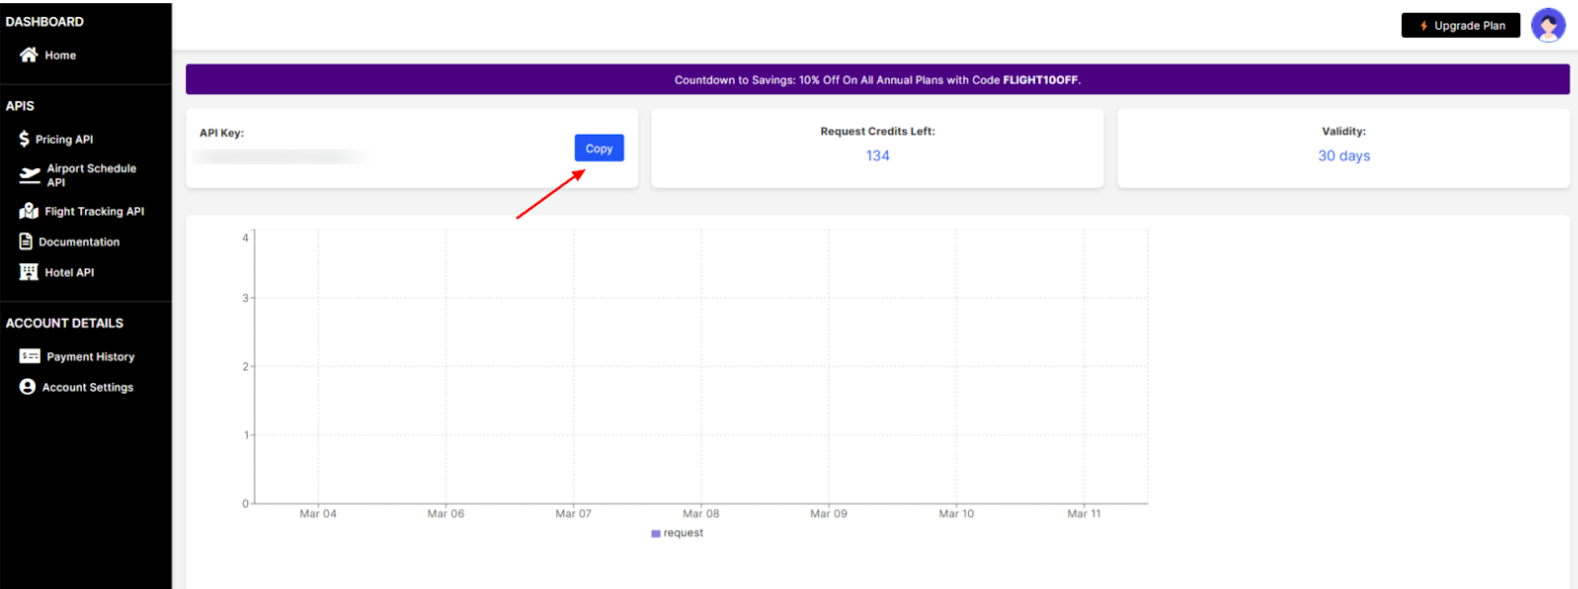
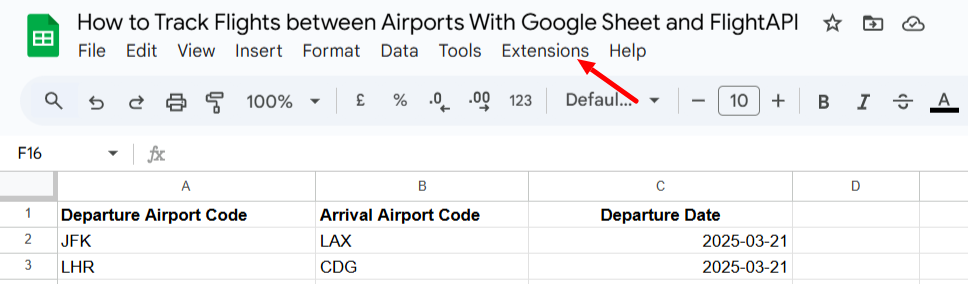
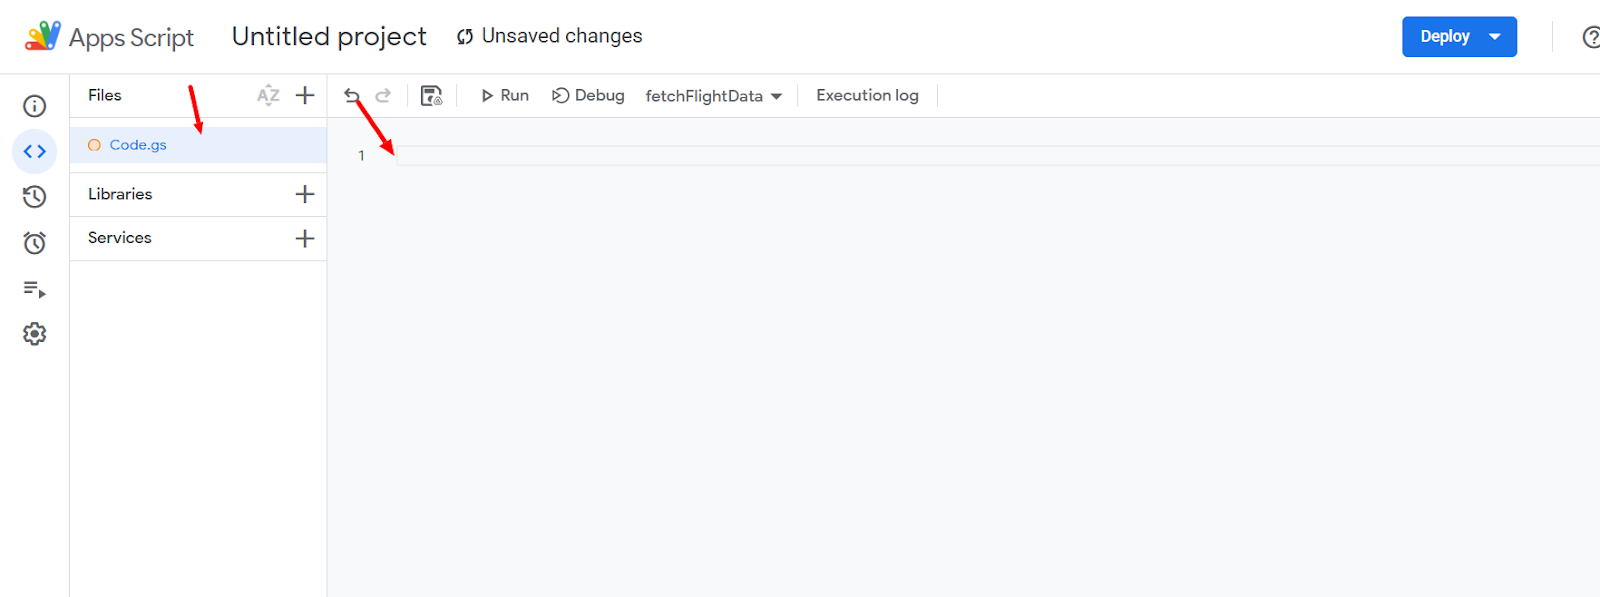
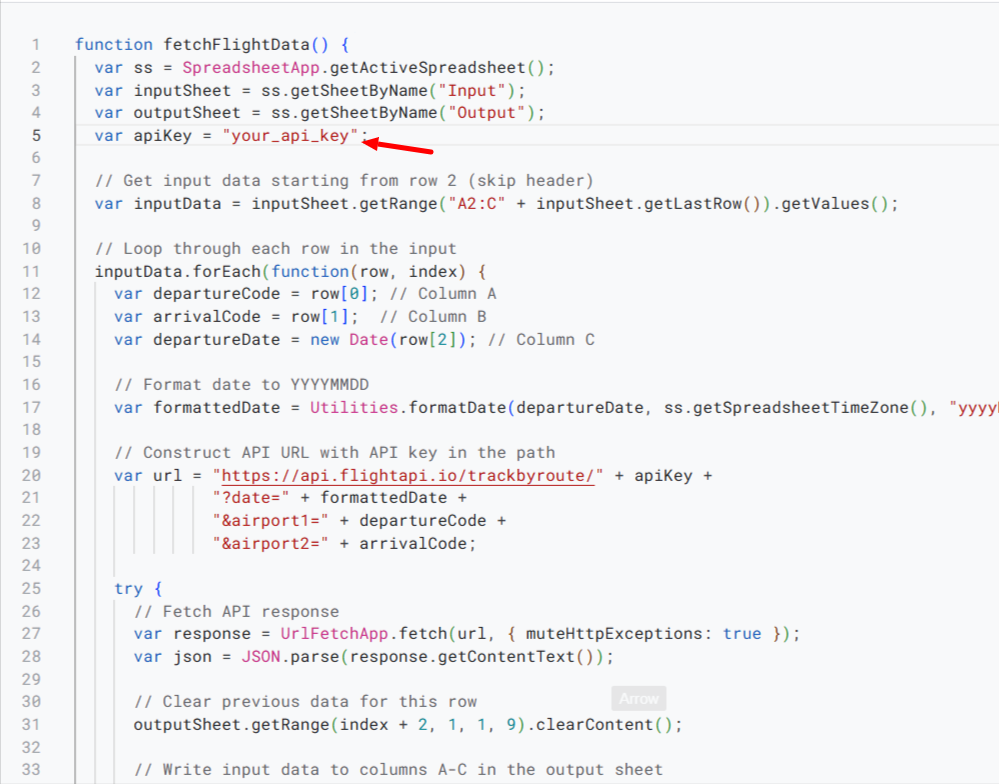
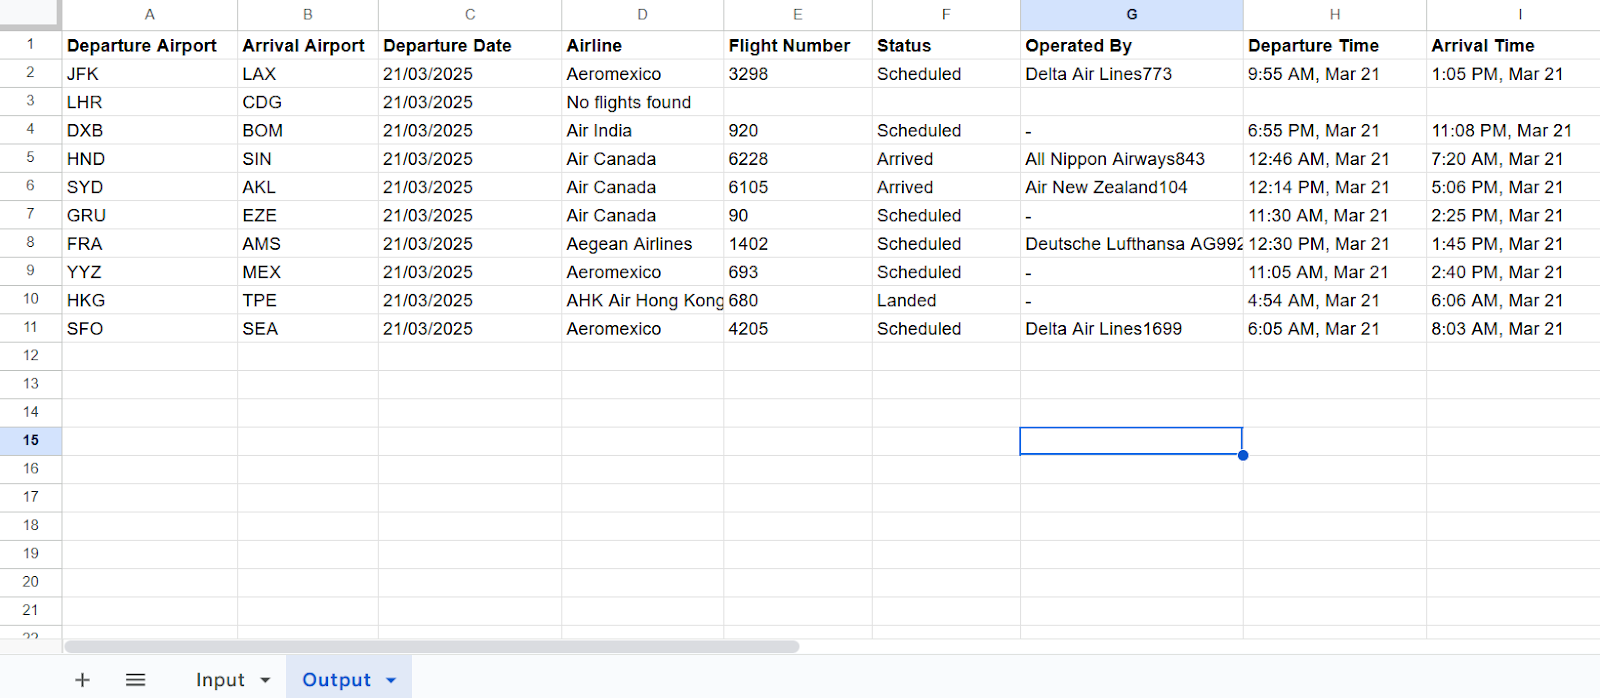
If you’re managing travel logistics, coordinating shipments, running a travel agency, or overseeing business operations where tracking flights between airports is needed. This tutorial is built for you. In this tutorial, we’ll show you exactly how to create a simple tool to track flights between airports using Google Sheets and a Flight Tracking API. No code, no tech headaches. Just a fully functional solution you can build from scratch and start using today. Moreover, at the end of the tutorial, you will also get a ready-made blueprint. You can download it, plug in your details, and start pulling live flight data in minutes. What You’ll Need: Step 1: Get Your API Key (In a free account, you will get 50 credits. Using the flight tracking between airport API costs 1 credit per response, which is pretty good for testing purposes. For more credits, you can upgrade your account as per your needs.) Step 2: Prepare Your Spreadsheet Before you set up your spreadsheet, you’ll want to review the API documentation here: Track Flights Between Airports API. This will show you which parameters you’ll need to send and what kind of data you’ll get back. Now, based on that information, let’s set up two tabs in Google Sheets: Input and Output. In the “Input” sheet: You’ll create a simple table where you’ll add the details of the flights you want to track. Here’s what you need: In the “Output” sheet: This is where the magic happens. This tab will show the flight data pulled directly from FlightAPI. Here are the columns to include: Step 3: Edit Apps Script and Run It With your spreadsheet ready, it’s time to make things work behind the scenes. This step will automate the process – pulling data from your Input sheet (your API parameters) and placing the results into the Output sheet. Here’s what to do: 6. In the script you just pasted, look for the placeholder text “your_api_key”. Delete “your_api_key” and replace it with your actual API key from the FlightAPI dashboard. This will authenticate your requests and allow the script to fetch live flight data. 7. After updating your API key, click Save (the floppy disk icon) in the Apps Script editor. 8. Next, hit Run from the toolbar. The first time you run the script, Google will pop up a permissions window asking you to authorize the script to access your Google Sheet. This is standard when using Apps Script to automate tasks. 9. Head back to your spreadsheet and check the Output tab — you’ll now see the live flight data neatly organized into columns. The tool will pull flight details like airline, flight number, status, times, and more, all arranged and ready for you to use. Get Your Ready-to-Use Blueprint If you’d rather skip building the tracker from scratch, we’ve got you covered. Click the link below to access the Google Sheet template. Simply make a copy, enter your flight details in the Input tab, insert your API key into the Apps Script (as outlined in this guide), and run it. You’ll be ready to start pulling flight data in no time. 👉 Download Your Flight Tracker Template Wrapping Up You’ve now got a working flight tracking tool inside Google Sheets — no coding headaches, no extra software, just simple automation using FlightAPI. Whether you’re managing travel operations, tracking cargo movements, or supporting customer travel needs, this setup saves time and delivers real-time flight data exactly where you need it. If you’re looking to extend your automation even further, check out these resources. You might need more than just flight tracking down the line — from real-time schedules to broader data sets, these guides have you covered: More Tutorials to Level Up Your Workflow:


,March 24, 2026
The airline industry is constantly evolving, but the data associated with it doesn’t always keep pace. Delay figures, API market...